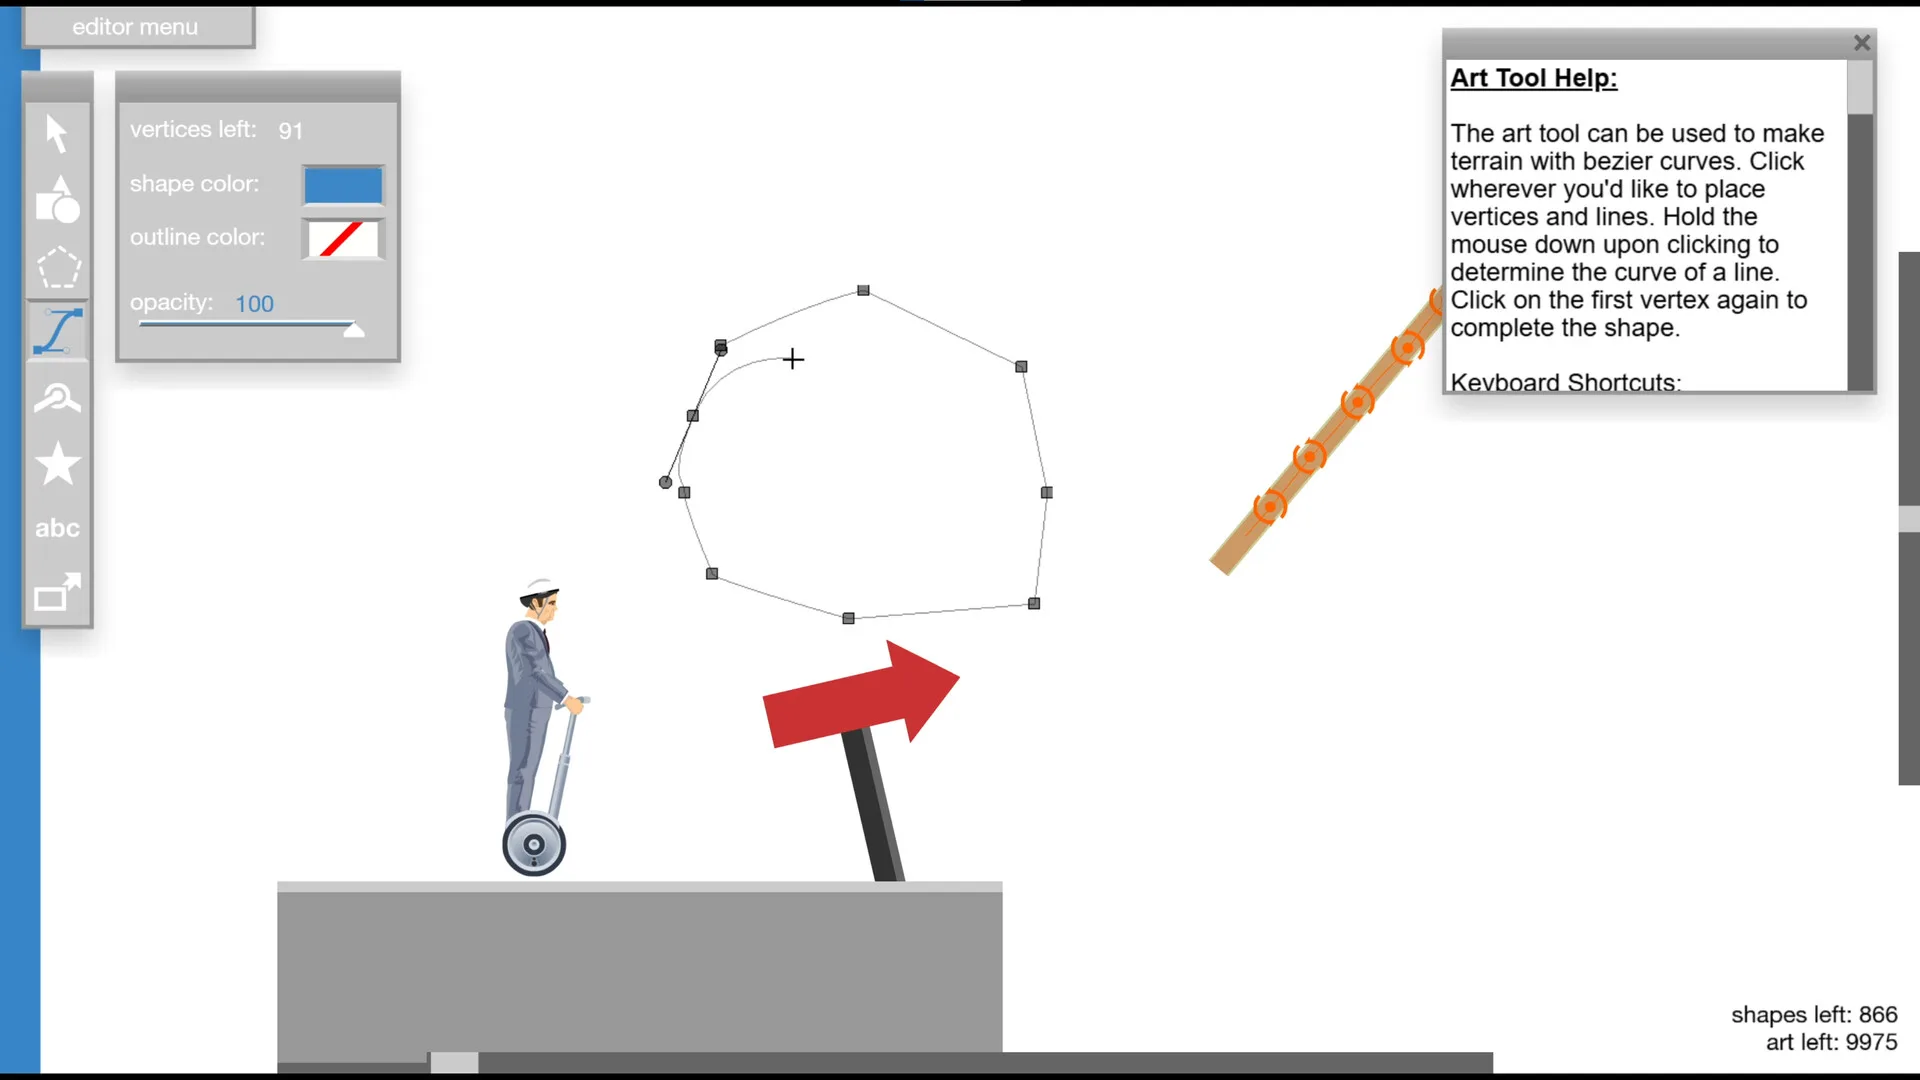
What the editor is
The level editor is the workshop where every user-created level in the game begins. It is not a side feature: the community level library is the reason Happy Wheels has lasted, and the editor is where that library comes from. The Steam version lists “Includes level editor” as a feature category.
The stage
| Property | Documented value |
|---|---|
| Stage size | 20,000 x 10,000 units |
| Outer edge | Thick default-blue wall |
| Shape limit | 900 |
| Art limit | 10,000 |
| Default character | Wheelchair Guy |
| Default start position | x = 300, y = 5,100 |
Both limits can be increased in-game, which is why the wiki’s documentation lists them with that caveat. The practical reading: shapes are the expensive resource. Every physical object you place costs a shape, and 900 disappears faster than you expect once you start building a real obstacle course.
Entering the editor and where you start
When you enter the editor, the camera opens on the default character’s position rather than on an empty corner. Wheelchair Guy is always present because a level must contain a character, so the editor gives you one by default.
That start position — roughly a third of the way along a 20,000-wide stage — is worth moving before you build. Reshape the stage around where you actually want the player to begin.
The editor menu
The dropdown in the top-left corner is the control centre. The wiki documents seven options, including:
- Test Level — play the level in its current state as if it were finished. The shortcut is T, and pressing T again stops the test.
- Level Options — opens a menu with the level backdrop and the background colour.
The backdrops documented are blank, green hills and city. Backdrop choice does a lot of the level’s visual identity work, and it also changes the mood considerably: green hills reads as classic Happy Wheels, city reads as grim, blank is for when the level itself should be the only thing on screen.
Building order that actually works
A sequence that avoids the most common mistakes:
- Pick the backdrop first. It changes how everything you place reads, and painting into the wrong mood wastes time.
- Move the character start to where your level begins.
- Block out the route with plain shapes. Get the geometry and the pacing right before you add decoration.
- Test at this stage, not at the end. The T key exists so you can test constantly. Blocked-out levels test in seconds.
- Add hazards last. Hazards are what make a level lethal, and adding them to an unfinished route means re-testing everything when the route changes.
- Add art last of all. Decorative art consumes the art budget and contributes nothing to playability.
The rule that separates good levels from forgotten ones
The old official FAQ advice, quoted by the community wiki, contains the principle worth internalising: a fun level is more important than a detailed level.
The FAQ’s own wording is blunt about the failure mode — before you obsess over drawing blades of grass, make sure the level is fun enough that dying makes you want to try again. If a death makes you want to quit instead of retry, the level is not ready.
The same advice gives a length target: roughly 30 seconds to 2 minutes to complete.
Testing with real people
The FAQ also recommends testing with friends or family before publishing. That is good advice for a specific reason: you already know the solution, so you cannot feel the difficulty. Watching someone else fail tells you whether the level is hard or merely unfair.
Publishing
The Steam release added a subforum for sharing levels, which the 1.99.2 patch notes describe as the place to post your creations. That sits alongside the in-game browser as the route for getting a level in front of other players.
One change is worth knowing before you publish: patch 1.99.1 replaced the “Publish your first level” achievement with “Complete 10 Editor Playtests”, specifically to curb the flood of levels published only for the achievement. Publishing is no longer the achievement trigger.
Related reading
- Editor objects and tools — what each tool and object does.
- Advanced editor techniques — joints, contraptions and complex builds.
- Featured levels — what gets curated and why.